More Than the Printer
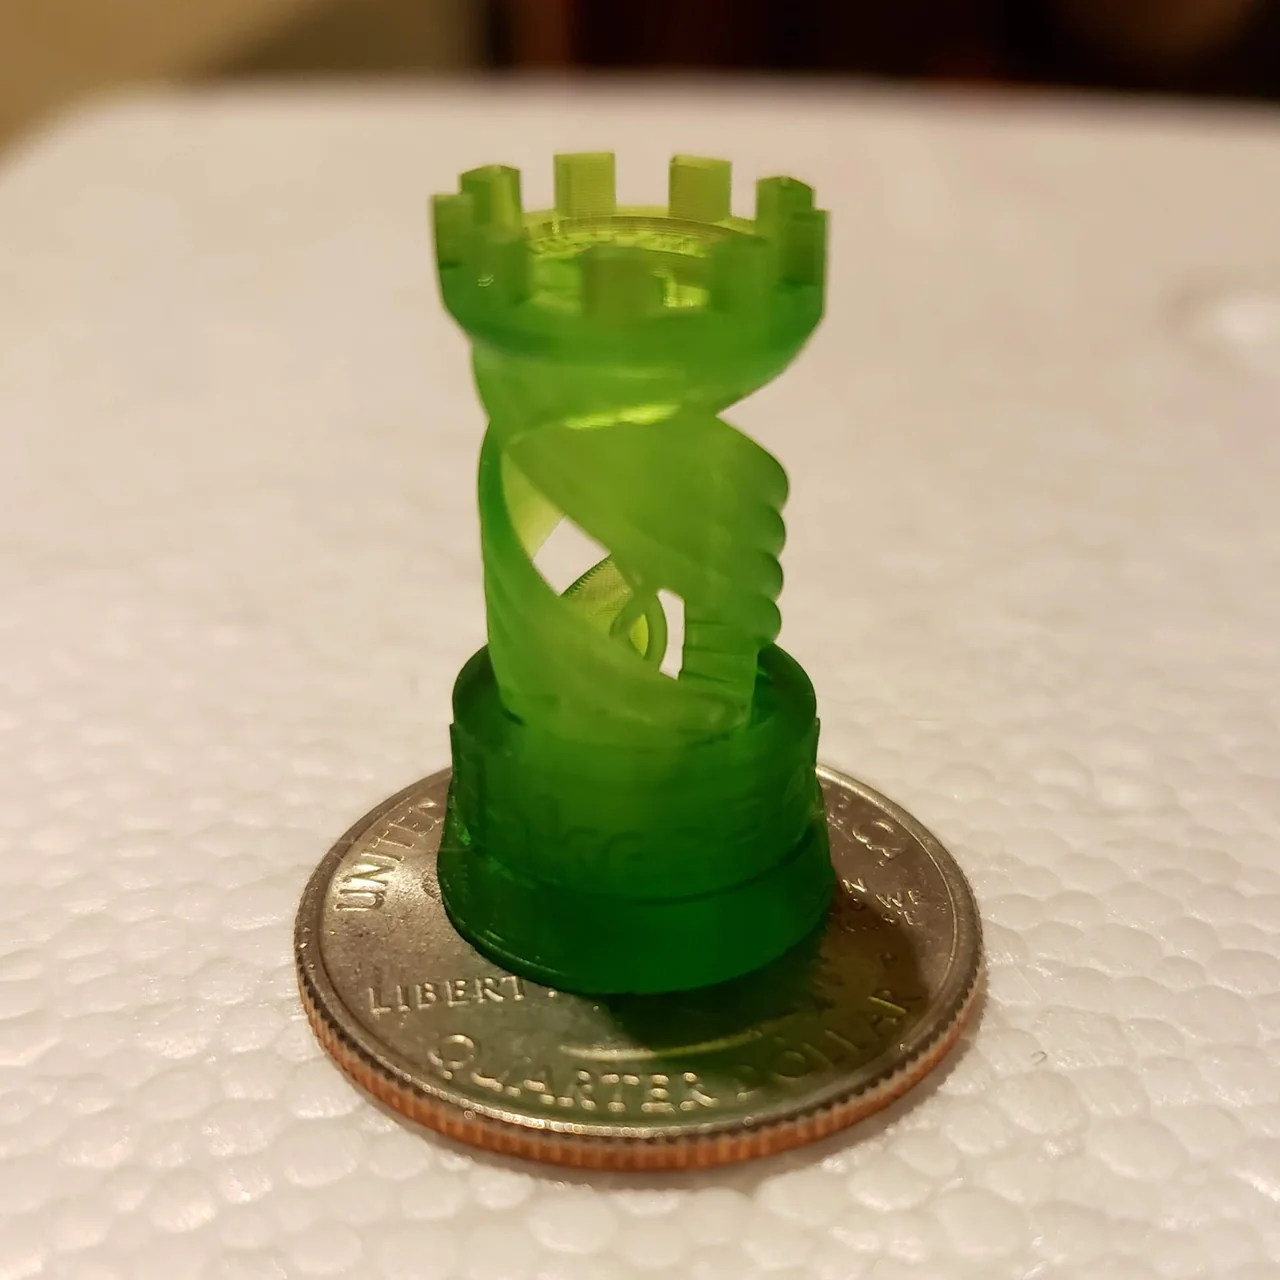
The notches around the top are obvious. The open spirals below them are harder to see. This little green tower is standing on a quarter, and the interesting part is all the space the printer managed not to fill.
My SparkMaker FHD was small. The activity around it spread out. I had already spent time on the Mini Delta, where leveling, slicer profiles, and the machine’s actual dimensions were most of the work. Resin moved the work outside the printer.
In and out of the resin
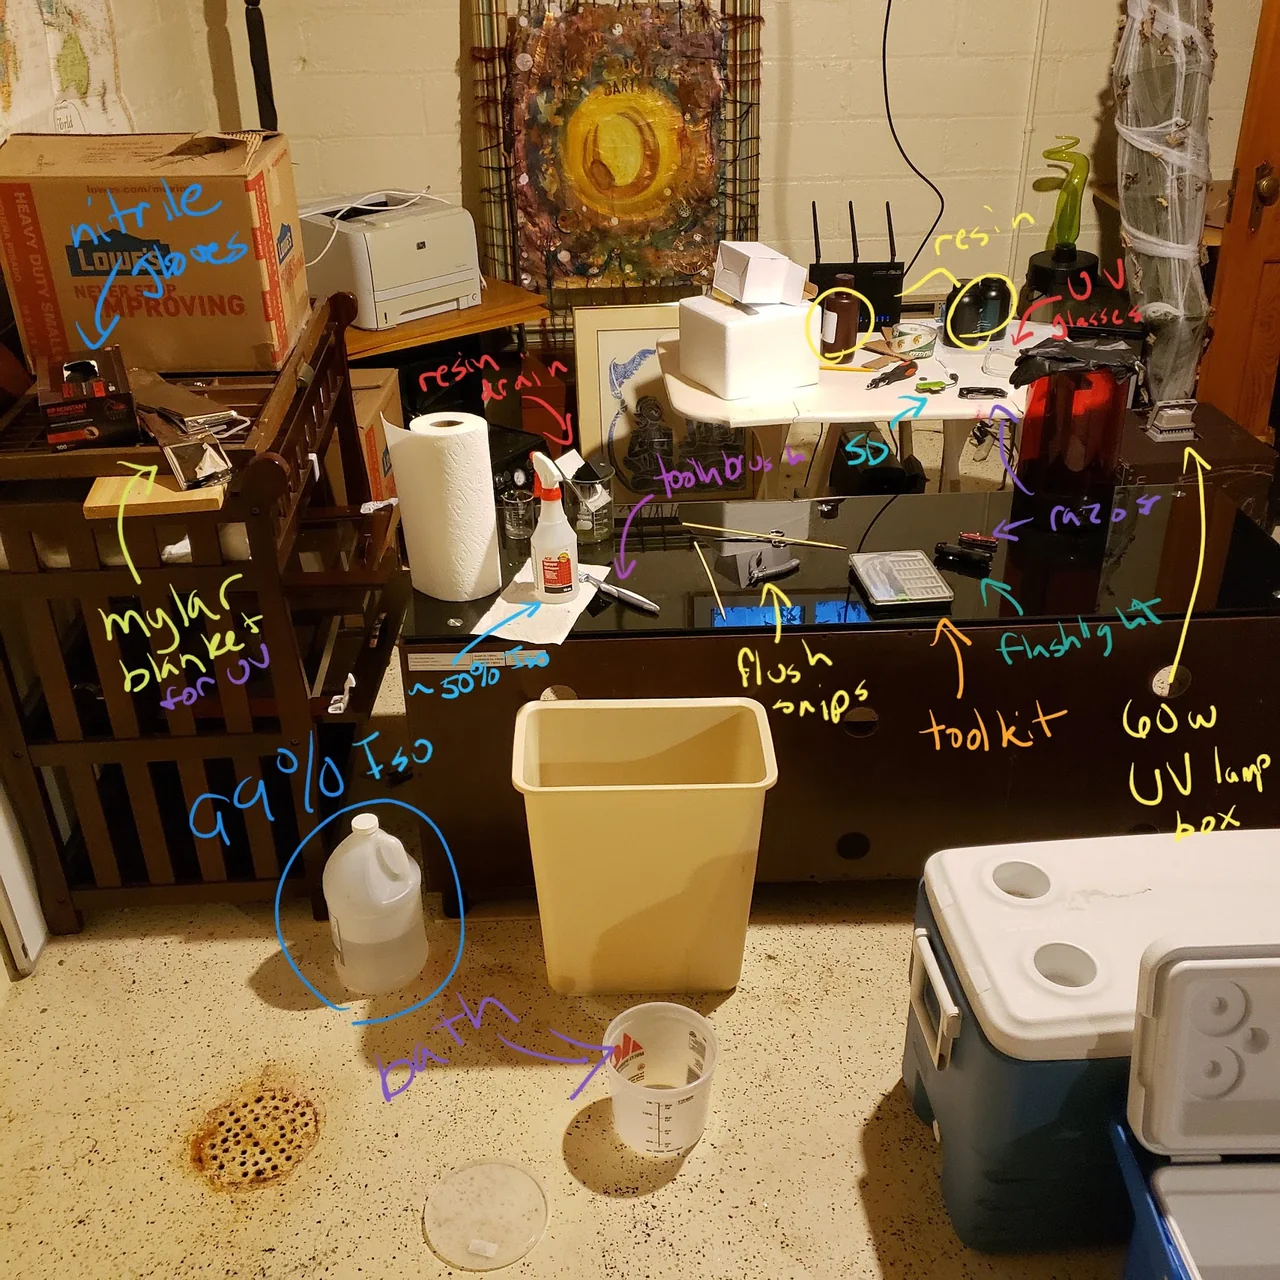
The SparkMaker had one knob and an SD card. Its operating guide expected a FAT32 card smaller than 32 GB and one sliced file named print.fhd. The card was the handoff between the slicer and the machine.
The resin bottle filled a shallow vat. During a print, the platform lowered into it and lifted the part out upside down, one cured layer at a time. The thing I labeled the resin drain held that wet assembly while loose resin ran off instead of following the print across the room. That was already a larger process than loading filament and waiting.
I wrote labels across the photograph because otherwise the printer under the red cover would look like the setup. It was only one station. Much of the rest was standard practice for resin, not my invention: the gloves, the alcohol wash, the second cure. The arrangement was mine. The method came with the material.
The nitrile gloves were for everything that was still wet: the liquid resin, the print, the tools that touched it, and the alcohol used to wash it. Uncured resin and wash solvent do not belong on skin.
Washing was not cosmetic. A print left the vat with a film of liquid resin over the cured shape. Isopropyl alcohol dissolves that residue; agitation helps carry it away. I kept roughly 50% alcohol in the spray bottle for directed cleanup and 99% in the gallon jug for the bath. The toothbrush was for the recesses the bath would not reach on its own. The basic finishing loop is the same: wash the uncured resin away, then let the part dry completely.
The flush snips separated supports from the part. The razor cleaned up what the snips left behind. The toolkit was there for the printer itself. The flashlight made residue, support marks, and failures easier to see across translucent resin. None of these tools improved the pixels in the printer. They decided how much of that resolution survived cleanup.
Light after light
The printer’s light made the shape, but the part came out in a partially cured state. More light finished the reaction and improved the material’s strength and stiffness. That is the purpose of post-curing, not merely drying the alcohol faster.
My curing station was a 60-watt UV lamp box and a Mylar blanket. The lamp provided the second exposure. The reflective blanket returned light from the walls of the box so fewer faces stayed in shadow. The UV glasses were for working around a homemade light source without the interlocks of a finished curing appliance. By then the printer itself was several steps behind me.
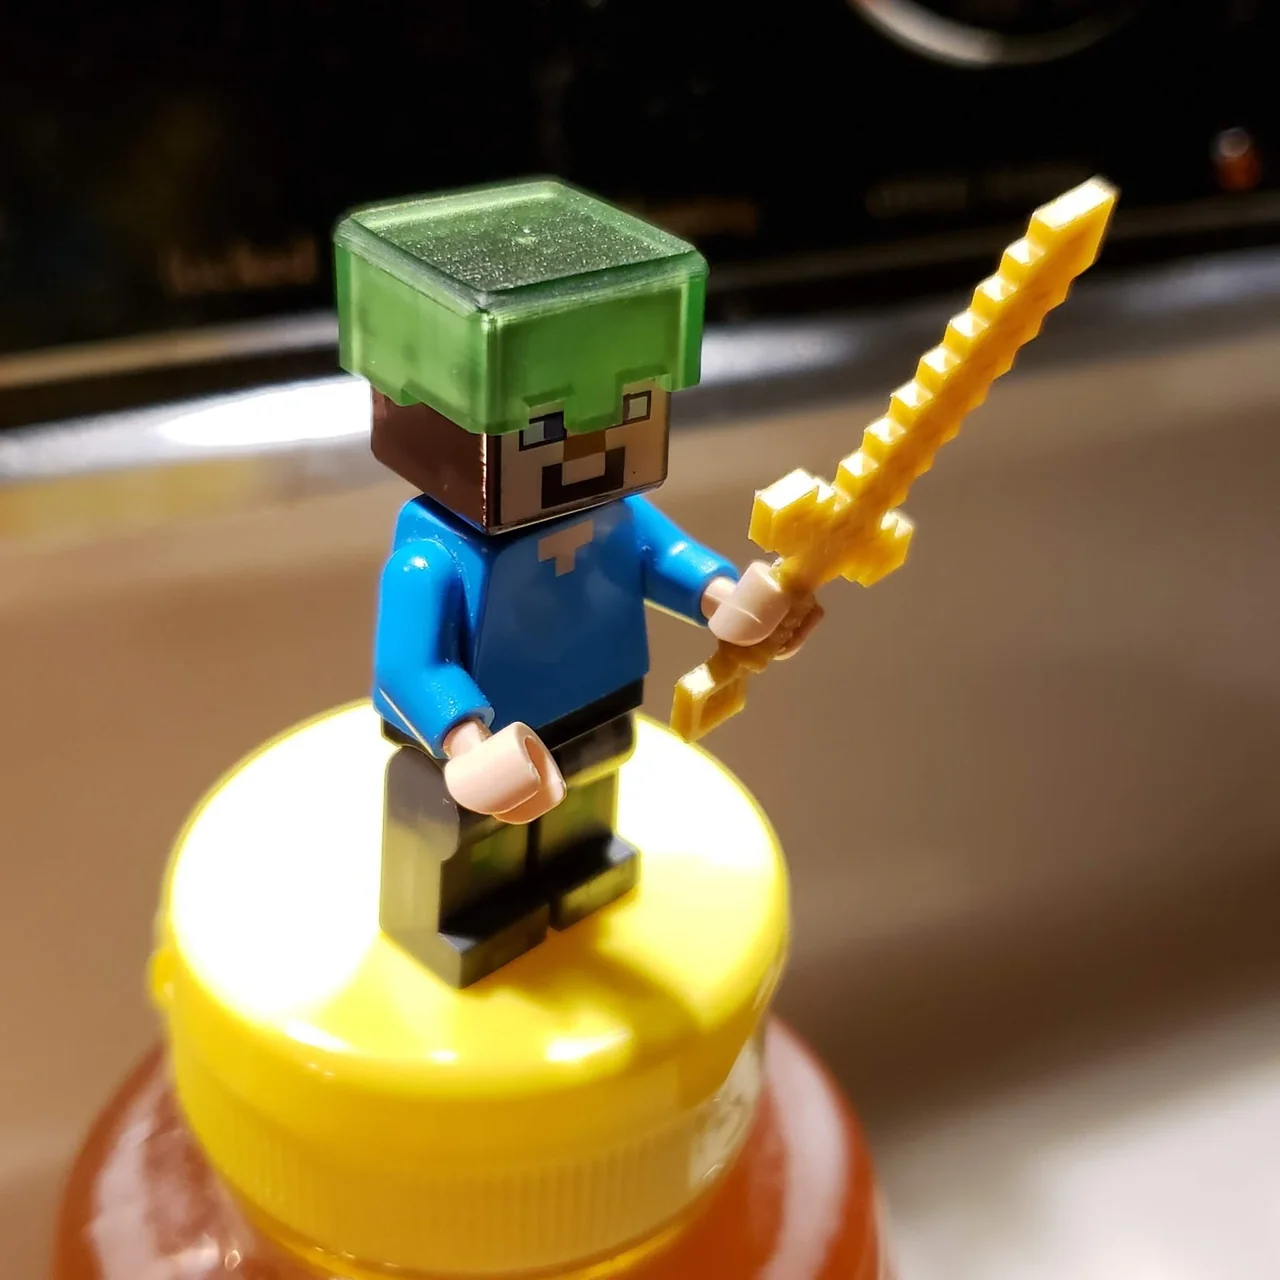
The helmet for the Minecraft figure was my own idea. My son was into Minecraft at the time, and I was trying to get him involved, so we were experimenting with little props for his figures. I modeled it in OpenSCAD, so the design was a program, and a square helmet was straightforward to write. It fit over the square head, translucent green above the blue shirt and gold sword. It was very tight. I am not sure I ever got it off again.